Honeycomb Integration
Honeycomb Integration
Prerequisites
- Have an active Honeycomb account and an environment created.
Configuration
Pulling your Honeycomb API Key (Honeycomb documentation)
-
Log into your Honeycomb account.
-
Locate your Environment’s API Keys:
In the left navigation bar under the Honeycomb logo, select the Environments banner. A menu appears with Manage Environments and a list of existing Environments.
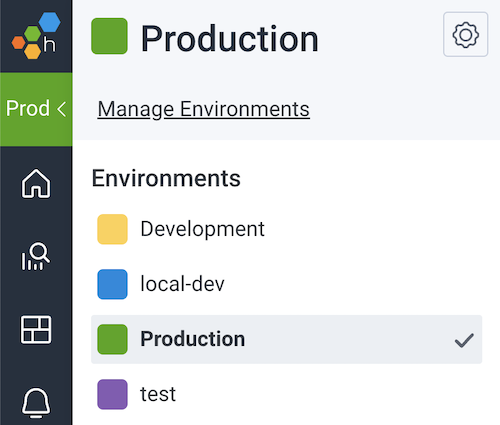
-
Select Manage Environments. The next screen displays a list of Environments and details about each Environment.
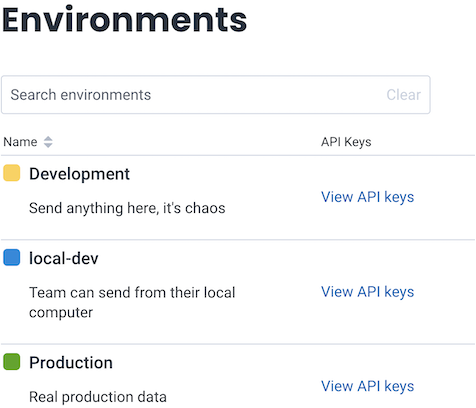
-
Select View API Keys in the row corresponding to the environment you wish to use for receiving metrics.
-
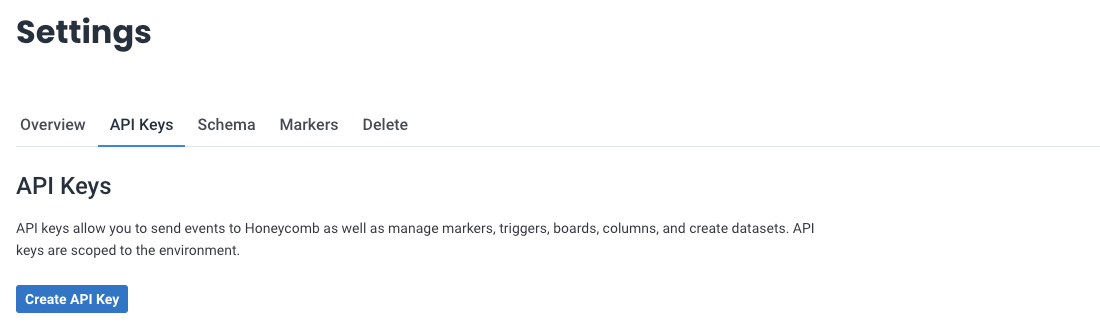
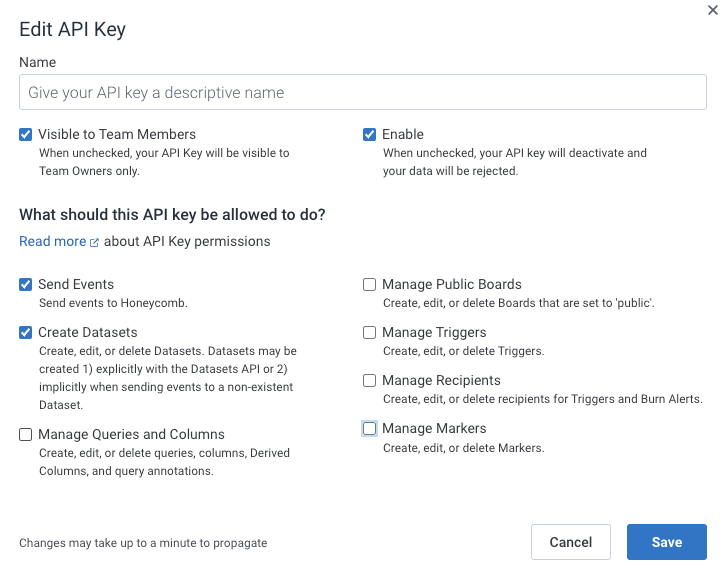
Click on Create API Key:
At least you must enable the following permissions:
- Visible to team members
- Enable
- Send events
- Create datasets
-
The next screen lists the API Keys associated with the Environment (and the one you already created).
-
Click on the Copy key button (adjacent to the key value).
-
Share the API key with an Embrace onboarding specialist.