Splunk Integration
Splunk Integration
Prerequisites
- Have an active Splunk account.
Configuration
Pulling your Splunk Access Token (Splunk documentation)
-
Log into your Splunk account.
-
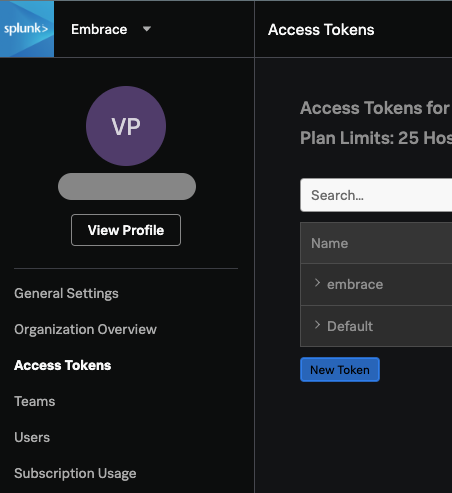
Locate your Access Tokens:
In the left navigation bar select Settings, then select Access Tokens menu item. A page with your Access tokens appears.
-
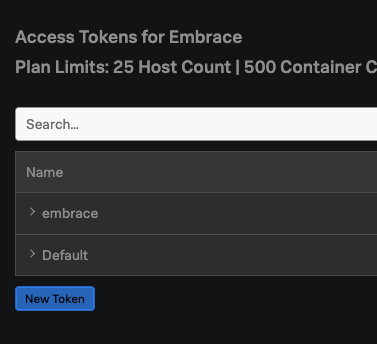
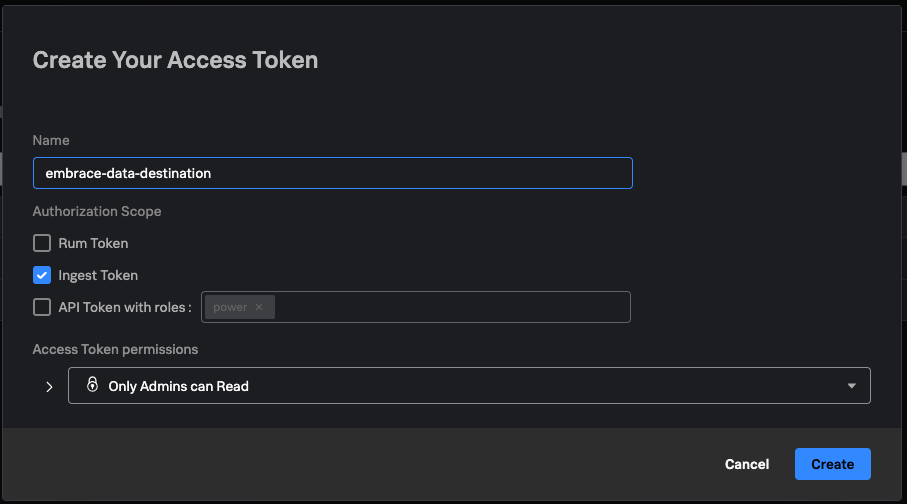
Click on New Token button
At least you must enable the following permissions:
- Ingests
-
Click on Create button and the new token will appear in the table on the screen.
-
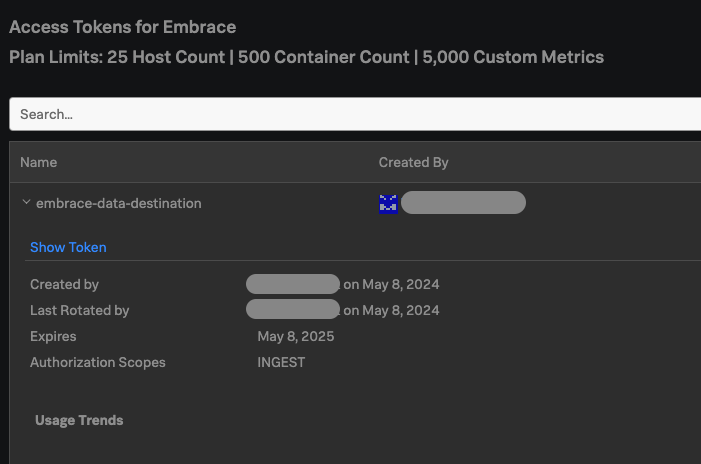
Click on the name of an Access Token.
-
Click on Show token button (located right behind the name). And Copy the generated token.
-
Share the Access Token with an Embrace onboarding specialist or use Embrace's UI to add Splunk as Data Destination.
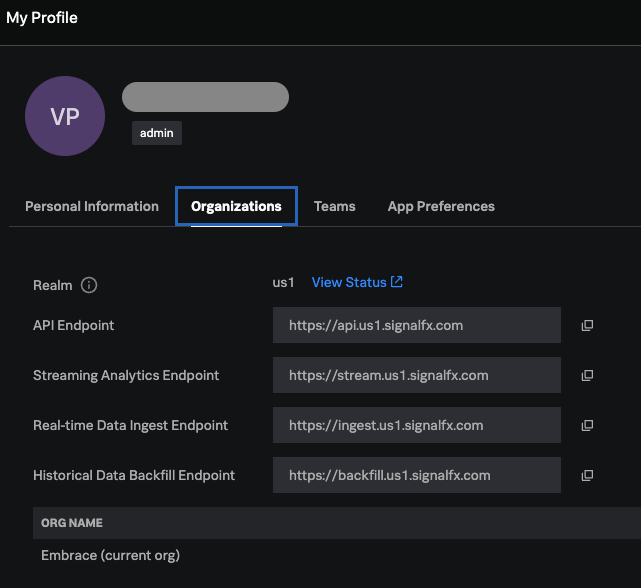
Pulling your Splunk Realm (Splunk documentation)
-
Log into your Splunk account.
-
Locate your Profile:
In the left navigation bar select Settings, then press View Profile button. A page with your profile appears.
-
Click on Organizations button
-
Copy Realm
-
Share the Realm with an Embrace onboarding specialist or use Embrace's UI to add Splunk as Data Destination.